How to Crop a Photo for a Christmas Ornament
Keep faces, ears, and small details inside the visible area of a photo ornament with a simple crop check.
By Giftelvo
Start with an image that reads at a small size
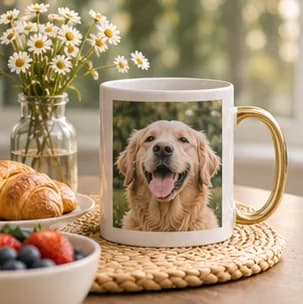
A close portrait with even light is usually easier to see on a tree than a wide group shot. For a baby’s first Christmas ornament, try a picture with the face and hands near the center. For a pet, choose a photo that leaves room above the ears and around the whiskers.
Use the product preview to find the visible area
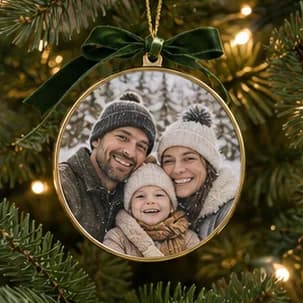
Upload the original and check the preview for the shape you selected. A round outline removes the corners of a rectangular photo, so shoulders and faces that look comfortably inside the original can sit too close to the ornament edge. Move the crop until important details sit well inside the outline and look for any area reserved for a hanging hole.
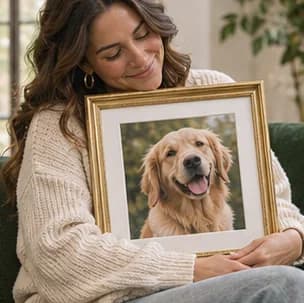
If you want to use a full family group and someone keeps getting clipped, compare a shot with people grouped closer together. A rectangular photo frame is another way to keep a wide group picture intact.
Check small text and save the original
If your design includes a name or year, view it at the ornament’s approximate size. Long captions can be difficult to read, especially over a busy background. Put the rest of the story on a card if the image is already crowded.
Save a copy of the original image with the date before uploading. For a gift that needs to arrive before Christmas, check the delivery estimate for the exact item and destination.